We may earn money or products from the companies mentioned in this post.
GREAT BARGAIN GREAT DEALS!!


Trying to get that perfect manicure at home? Many people are. Here’s a fact: You can achieve a salon-worthy manicure without leaving your house. This article will show you how, with the right tools and steps.
LISTEN AND SHARE IF YOU LIKE
Get ready to love your nails!
Key Takeaways
- Use the right tools like nail polish remover, clippers, files, cuticle pusher, base coat, and top coat for a good at-home manicure.
- Clean and prep your nails before painting them. This includes removing old polish, shaping nails with clippers and files, pushing back cuticles, and applying sunblock on hands.
- Apply thin coats of polish for a smooth finish. Wait for each coat to dry before adding another. Seal tips with polish to prevent chipping.
- To fix smudges or chips in your nail polish, use a bit of nail polish remover on a brush to gently correct mistakes without starting over.
- Regularly using a base coat can help your nail color stick better and last longer. A top coat adds shine and protects against chips.
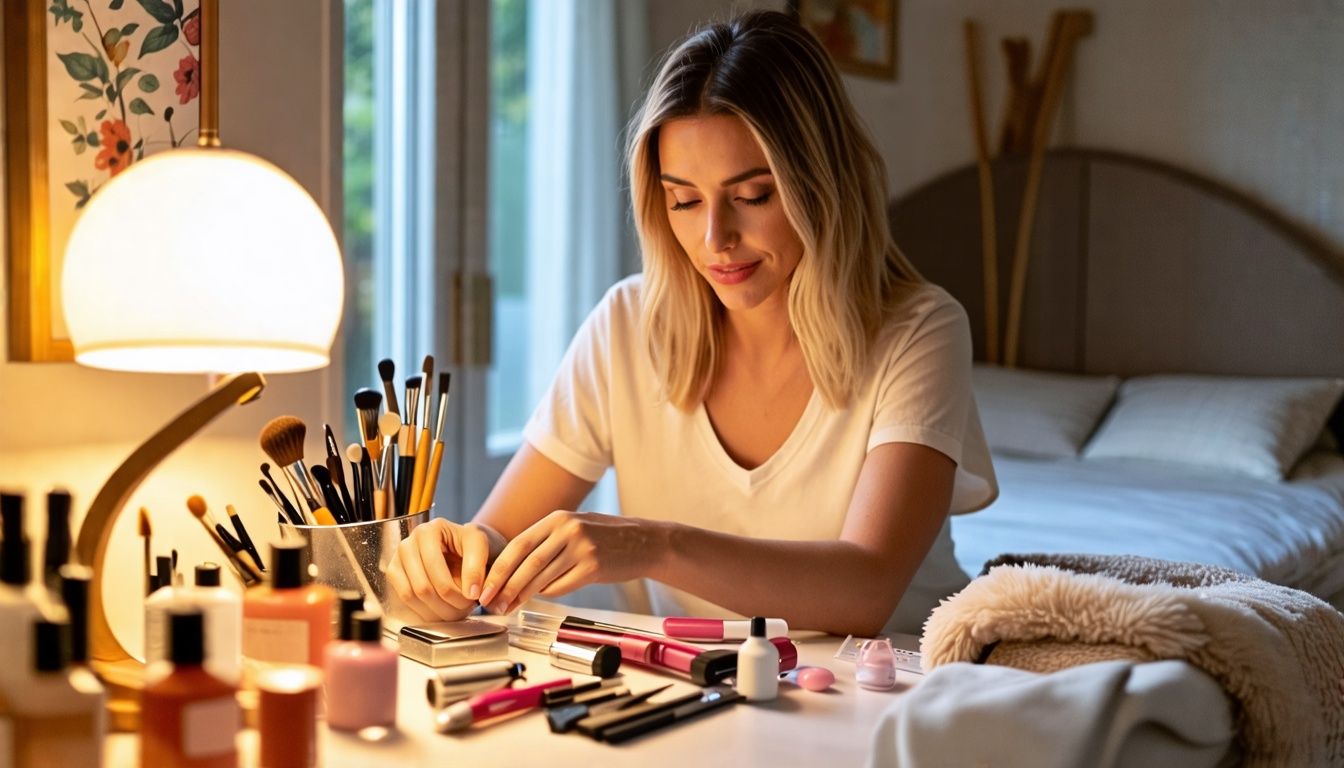
Essential Tools for Your Manicure Kit
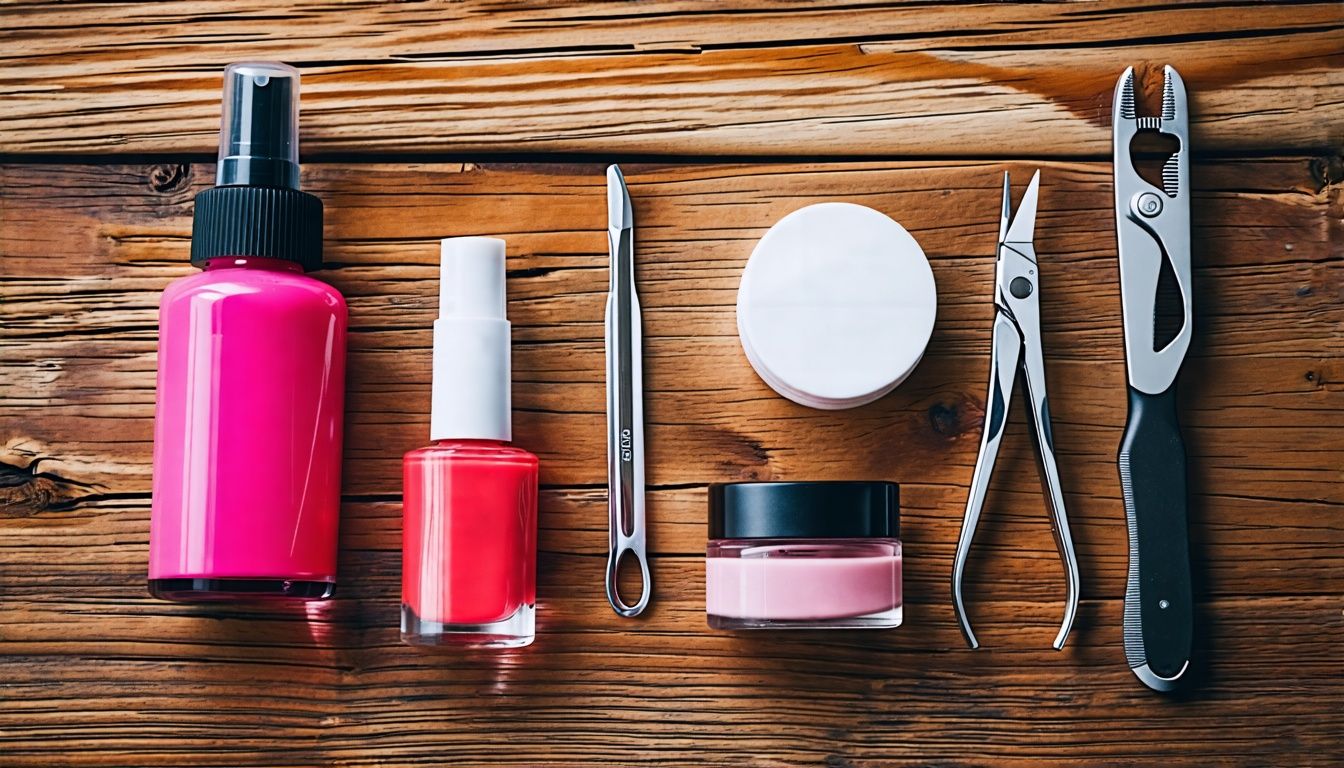
You need the right tools for a salon-worthy at-home manicure. Your kit should include nail polish remover, clippers, files, cuticle pusher, base coat, and top coat. These tools are essential for prepping your nails correctly and ensuring a professional-looking finish.
Nail polish remover
Nail polish remover
One is Karma Naturals Nail Polish Remover with Rose Oil, priced at $12. It’s kind to nails and smells nice too because of the rose oil. Then there’s Sally Hansen Moisturizing Nail Polish Remover costing $7.
It keeps your nails from drying out while removing old polish.
Choosing the right nail polish remover can change how you feel about doing your nails at home. Both products help prepare your nails for a fresh coat by cleaning them well without harshness or stripping natural oils away too much.
They set the stage for applying new colors or treatments, making sure everything looks smooth and even.
Nail clippers and files
After you have your nail polish remover ready, it’s time to talk about clippers and files. These tools shape your nails and make them look neat. You need good ones for a great manicure.
Try the Revlon Shape and Buff All-in-One File and Buffer Block for $5 or the Germanikure Czech Crystal Glass Nail File for $14. Both options are top-notch and will help get your nails in perfect shape before you add any color.
Clipping your nails gives them a clean start while filing shapes them just right—whether you’re going for a round, square, or almond look. Using these tools correctly can stop nails from breaking or splitting.
And let’s not forget, they keep your manicure looking smooth and professional even before you apply polish. So yes, picking out the best clippers and files is key to nailing that salon-worthy look at home!
LISTEN THEN SHARE IF YOU LIKE
Cuticle pusher and cuticle remover
A cuticle pusher and a cuticle remover are key for a top-notch manicure. You can choose from many, like the OPI Reusable Wooden Cuticle Pusher Sticks for $26 or pick up a good cuticle remover.
Blue Cross offers one at just $4, while Deborah Lippmann has an exfoliating option priced at $20. Use the pusher to gently nudge back your cuticles. This makes your nails look longer and neater.
Next, apply the remover around your nail base to get rid of any dead skin without harsh cutting tools.
Now, this might sound like tiny stuff, but it’s huge in manicure land! These steps stop hangnails and keep your nails healthy. After taking care of your cuticles, you’re all set to move on to applying the base coat.
Base coat and top coat
Once your cuticles are happy and out of the way, it’s time to talk about laying the foundation for your manicure. Think of a base coat like Essie Here to Stay, priced at $9, as an anchor for your nail color.
It helps the polish stick better. Now, don’t forget about sealing everything in with a top coat. Zoya Naked Manicure Glossy Seal Top Coat comes in at $12, making your nails shine like they mean business.
And if you’re all about getting that salon-dry look fast, add Seche Vite Dry Fast Top Coat to your kit for $10.
A good base coat protects; a great top coat perfects.
Using these can make or break your DIY manicure adventure. They prevent chipping and keep those colors bright just like when you walk out of the salon—only this time from your own couch!
Step-by-Step Guide to a Perfect At-Home Manicure
Ready to treat yourself to a perfect at-home manicure? From cleaning and prepping your nails to applying the finishing touches, this guide covers all the essential steps. Delve into our step-by-step process for salon-worthy results!
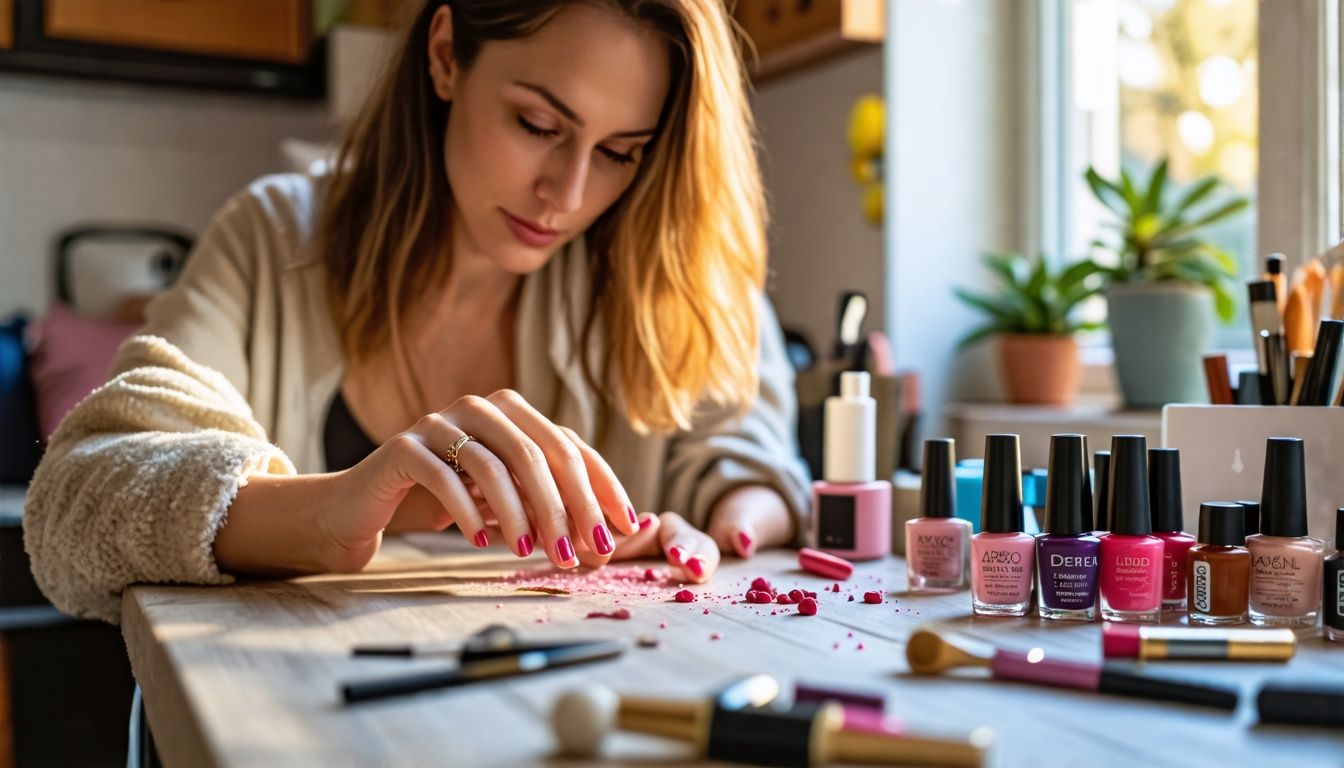
Cleaning and prepping nails
Start by taking off old polish with nail polish remover. Make sure every bit is gone. Your nails need to be clean. Then, grab the clippers and trim them down. Not too short, but just right.
Use a file to smooth the edges. Be gentle here; we don’t want any snags!
Next up, give your nails a good washing. Dry them well. Now for some cuticle care – use the Blue Cross Cuticle Remover to push back those cuticles softly. Don’t cut them; just nudge them back to make space for painting later on.
Before you reach for that color or base coat, pause! Apply sunblock on your hands to protect them, but keep it away from your nails. We want that polish to stick! Alright, now your nails are ready for some serious manicure magic.
Shaping nails
With clean nails, shaping becomes the next step. Achieving the perfect shape for your nails is essential for the desired aesthetic. Clippers and files constitute necessary tools for this process.
Begin by using the clippers to trim your nails, aiming for a length that not only appears attractive but also provides comfort.
Following trimming, utilize the file. Do you recall the 90/10 guideline? It suggests that the file should be used to shape 90% of your nail edge. Here is a useful technique: move the file from the nail’s side towards its center.
This method is most effective and assists in preventing splits or cracks in your nails—avoid making seesaw-like movements with the file! Such actions can be harmful to your nails and won’t result in the smooth edges you desire.
Perfectly shaping your nails lays the foundation for the rest of your manicure.
Cuticle care
Cuticle care is key for a tidy manicure. First, use cuticle oil to soften them. This makes your nails look neat and keeps them healthy. Don’t cut your cuticles; it can cause breakage and infections.
Instead, gently push them back with a cuticle stick. Doing this helps prevent hangnails and makes your nail bed look longer.
Next, we’ll talk about applying the base coat, color, and top coat to get that salon-worthy shine at home.
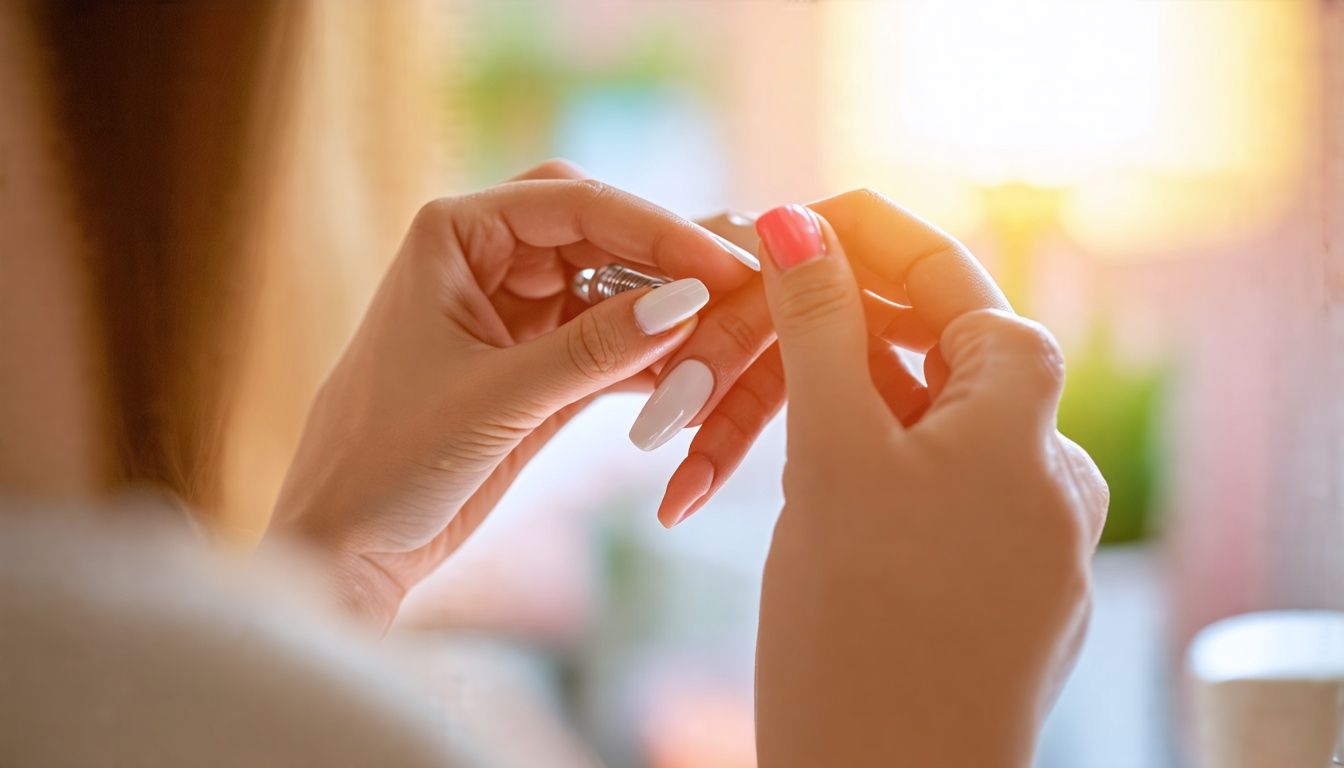
Applying base coat, color, and top coat
After taking care of your cuticles, it’s time for the fun part: painting your nails. First, apply a dehydrator and a bond primer but don’t cure them with light. This helps the polish stick better.
Next, brush on a clear base coat and cure it under a lamp for 45 seconds. The base coat acts as a protective layer for your nails.
Now, choose your favorite manicure color or try out some new manicure trends. Paint this colored base coat on, cure it for 45 seconds, and repeat if you want more coverage. Finally, seal everything with a clear top coat over the tips of your nails and cure for 90 seconds to make sure it lasts long.
To finish off, use rubbing alcohol on cotton to remove any sticky residue left behind. This step-by-step method will give you that professional manicure look right at home!
Advanced Tips for a Professional Finish
4. Want to take your at-home manicure to the next level? We’ve got you covered with expert tips for a salon-worthy finish. From techniques for smooth application to solutions for common issues like smudging and chipping, we’ll help you achieve professional results without leaving your home.
Techniques for smooth application
To achieve a seamless polish job, initiate with slim coatings. Your best ally in this case is a reliable base coat. It intensifies the adherence of the color and amplifies its longevity.
Fully dry each layer before layering another. Although it might seem time-consuming, it’s a worthy step to avoid revamping smeared nails.
Endurance is critical for a spotless result.
Encountering inconsistencies? A gentle swipe of nail polish remover could rectify the error without necessitating a do-over. Also, use light strokes with the brush. Applying excessive pressure might lead to streaking or clumping of the polish.
Finally, consolidate everything with a top coat for luster and safeguarding against chips and scratches.
Solutions for common issues like smudging and chipping
Are you frustrated by smudged and chipped nails? Don’t fret, we’ve got the solutions for you. To prevent smudging, wait a few minutes after applying your topcoat to ensure it’s completely dry.
Also, try using thinner coats of polish to speed up drying time and reduce the risk of smudging. When it comes to preventing chipping, remember to seal the nail tips with polish by brushing along that edge just slightly underneath the tip.
This helps create a barrier against wear and tear, keeping your manicure looking fresh for longer.
Furthermore, if you tend to have oily nails that cause chipping, consider using a dehydrator or primer before applying your base coat. These products help remove excess oils from your nails, providing better adhesion for your polish and reducing the likelihood of chips.
Incorporate these tips into your at-home manicures to keep those pesky problems at bay!
Conclusion
Achieving a salon-quality manicure at home is achievable. With the right tools and techniques, anyone can master the art of at-home manicures. It’s about more than just saving money; it’s also about nurturing self-care skills.
So, don’t hesitate to start your DIY manicure journey today!
FAQs
1. What are some expert tips for achieving the best at-home manicure?
Well, first things first – you’ll need to gather your manicure tools and supplies! This includes a good nail buffer, quality gel or regular polish, a nail plate cleaner…and don’t forget about those cuticle pushers! Once you have everything in place, just follow the basic manicure steps: clean your nails properly (yes that means under them too), buff them out smoothly and apply your chosen polish with care.
2. Can I get creative with my at-home manicures?
Absolutely! Manicure designs can be as simple or complex as you’d like. From classic French and natural styles to acrylic or shellac options with glitter accents – it’s all up to you. You could even try creating art on your fingernails if you’re feeling adventurous!
3. Are there different types of home-manicures for men and women?
Sure thing! While most people associate manicures with women, men can also benefit from keeping their nails neat and healthy. The techniques used might differ slightly but the basics remain the same—cleaning, shaping, buffing…you get the idea.
4. How can I maintain my at-home manicure?
Maintenance is key for any type of manicure whether it’s an acrylic one or a simple gel polish application. Regularly applying cuticle oil helps keep nails hydrated while avoiding harsh chemicals ensures longevity of your lovely new look.
5. Is there any difference in cost between doing my own manicure vs going to a salon?
Doing your own at-home mani definitely saves money compared to visiting a salon where costs can add up quickly depending on what services you choose.
6. Where do I find inspiration for my next DIY mani project?
There are countless places online where one could find oodles of ideas—from Instagram pages dedicated solely to nail design inspirations to detailed manicure tutorial videos on YouTube. So, what are you waiting for? Grab your manicure set and let’s get creative!
GREAT BARGAIN GREAT DEALS!!